
7 Needle Felting Color Blending Techniques for Beginners
Updated: Nov 2
Last Updated: October 28, 2026
Quick Summary
Needle felting color blending is the skill of mixing fibers from two or three close colors by pinching, pulling apart, and stacking them until they merge into smooth transitions. Start by choosing colors near each other on the color wheel, then blend in small amounts so the result doesn't turn muddy.
Choose two or three colors that sit close together on the color wheel.
Pinch and tear fibers into short pieces, then stack and pull them apart again.
Keep fibers aligned in one direction to avoid a fuzzy, uneven blend.
Build gradients from thin, overlapping layers rather than two thick ones.
Stop blending once the shade looks even to avoid muddy colors.
Table of Contents
Needle felting color blending is the skill that turns a flat sheet of wool into something that looks painted. The basics come down to a few simple habits: pick colors that sit well together, pull the fibers apart rather than mashing them, and blend in small amounts. Below, we walk through seven techniques that beginners can practice at home, with the reasoning behind each one.
Why Color Blending Matters in Needle Felting
Needle felting works by stabbing wool fibers with a barbed needle until they tangle and lock together. The color you get depends on how those fibers sit next to each other. Two colors laid in stripes look like stripes. The same two colors blended finely look like a new shade.

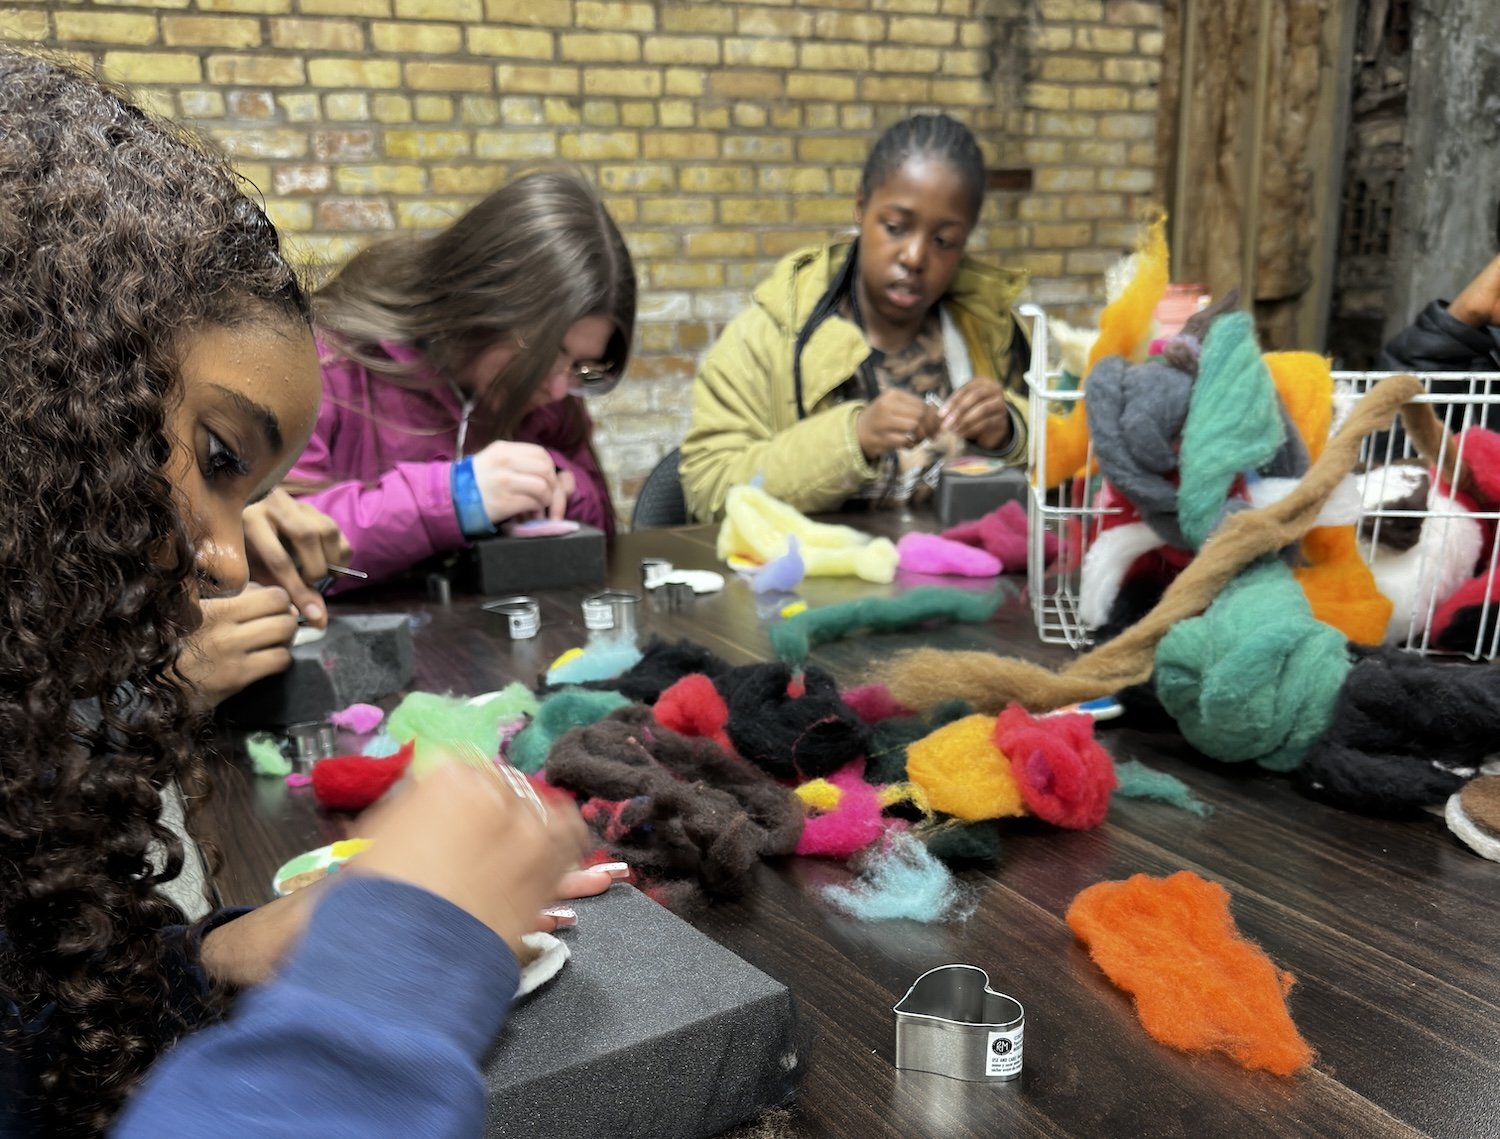
Selection of colors available at the Nome Schoolhouse
That is why blending matters. Blended fibers give soft transitions, natural-looking shading, and fur or texture that reads as real. Without blending, pieces tend to look flat and harsh.
Blending creates new shades from a small set of base colors
Soft transitions make animals, landscapes, and faces look more lifelike
Good blending hides the seams between colors
Choosing Wool Colors That Blend Well
Start with two or three colors that are close on the color wheel, such as blue and purple or yellow and orange. Close colors blend into smooth transitions. Opposite colors, such as red and green, can turn muddy brown when mixed.
Pick a light base color and a darker accent. This gives you room to add depth later. A common mistake is buying many bright colors at once and expecting them to mix well. Fewer colors, chosen carefully, usually give better results. Mastering these foundational combinations provides the confidence to experiment with trending color palettes as you refine your personal style.
How to Blend Wool Roving Colors by Hand
Hand blending is the easiest method to learn and needs no special tools. A blending fiber bundle with several wool breeds and colors gives you ready material to practice on. You work with small pieces of roving, pinch them, pull them apart, and lay them over each other until the colors mix.
Pinching, Pulling Apart, and Aligning Fibers
Pull a thin strand from each color. A felting needle pack with handle is all you need to try the technique yourself. Lay the strands side by side, then pinch and tear them into short pieces. Stack the pieces and pull them apart again so the fibers run in the same direction.
Keep the fibers aligned as you go. A foam needle felting cushion gives you a dense surface to work on while you practice. Fibers running in random directions produce a fuzzy, uneven blend. Parallel fibers produce a clean, controlled result.
Using Carding, Combing, and a Blending Board
Once you have some practice, you can blend faster with a carder or blending board. A blending board is a flat board with fine pins or teeth. You lay fibers across it and draw them back and forth until they mix.
Carding and combing do the same job on a larger scale. These tools are useful when you need a lot of blended fiber for one project. Hand blending is still a good starting point, since it teaches you how the colors behave.
The steps below summarise the basic hand-blending routine described in this section.
Step | What to do | Time or frequency |
Pull strands | Pull a thin strand from each color | Before blending |
Pinch and tear | Pinch fibers into short pieces | Once per batch |
Stack and pull | Stack pieces and pull apart again | Repeat until mixed |
Align fibers | Keep fibers running in the same direction | Throughout |
Upgrade to tools | Use a carder or blending board | After practice |
Creating a Needle Felting Color Gradient
A gradient moves from one color to another in small steps, and the goal is a transition with no visible band where one color stops and the next begins. A bamboo silk blending fiber can add sheen and a graded transition to your blend. The mistake most beginners make is treating a gradient as two colors meeting in the middle. A smooth gradient is really a stack of thin, overlapping layers, each one slightly more of the second color than the last.
Building a Gradient in Layers
Lay the base. Cover the area with a thin, even layer of the first color. Thin is the key, a thick base is hard to blend into and shows as a ridge.
Add the second color in a thin veil. Pull a translucent sheet of the second color and lay it over part of the base, feathering the edge with your fingers so it fades rather than stops.
Felt lightly. Use a single needle and shallow stabs to tack the veil down without driving it deep. Deep stabs push the second color through to the back and create a hard edge.
Repeat in steps. Add another veil, overlapping the first and extending a little farther into the first color. Each pass should be thinner than the one before.
Blend the seam. Where the two colors meet, pull a few fibers from each side across the boundary with your needle tip, then felt them down. This is what removes the band.
A gradient built from five or six thin passes looks smoother than one built from two thick ones, even though the total amount of fiber is similar.
Fixing Banding and Hard Edges
If a hard line appears, do not add more of either color on top, that thickens the ridge. Instead, lift a few fibers from each side of the line with your needle and cross them over the boundary, then felt gently. Work under good light and step back often; a band you cannot see up close is often obvious from arm's length.
Banding from thick layers: pull the top layer apart into a thinner veil and re-lay it.
Banding from deep stabs: switch to shallow stabs and work the boundary from the side rather than straight down.
Graying at the seam: you are over-blending. Stop crossing fibers and let the two colors sit next to each other.
Gradients on a Finished Piece
You can build a gradient directly on a finished felted surface rather than in loose fiber. Lay a thin veil of the new color over the area you want to shift, felt it in with shallow stabs, then add a second, smaller veil closer to the target end. This is how shading on a face or a landscape sky is built up after the base shape is firm. Work in small amounts, a veil the size of a coin is easier to control than a palm-sized sheet.
Key Takeaway A smooth gradient is thin layers plus shallow stabs plus a blended seam. If you can see where one color ends, the fix is almost always a thinner layer, not more fiber.
Needle Felting Shading Techniques for Depth
Shading uses darker blends in the lower or inner areas of a piece. It makes a flat shape look rounded. Blend a dark shade into your base color, then felt it into the areas where shadow would fall.

Group of needle felting fiber in various colors
Keep the shading subtle. Heavy, dark patches look like dirt. Light, layered shading looks like natural depth.
Preventing Muddy Colors and Patchy Results
Muddy colors usually come from mixing too many colors or blending too much. Stop once the color looks smooth. Overblending can turn a clean shade into gray.
Patchy results often come from uneven fiber alignment or from felting one spot too hard. Check your work often, and felt gently at first. You can always add more fiber, but removing it is harder.
Limit each blend to two or three colors
Stop blending once the shade looks even
Check the piece under good light as you go
Start Your First Blended Felting Project
Pick a simple shape, such as a small ball or an egg, and practice one technique at a time. Begin with two colors, blend by hand, and build up from there. Each project will show you something new about how the fibers behave.
If you want to start with the basics, a beginner's guide to needle felting can cover the tools and first steps. Nome Schoolhouse offers needle felting kits and workshops.
Frequently Asked Questions
How do you blend colors in needle felting?
The most reliable method is to pull thin, even strands from two or more colors of wool roving, lay them side by side, and then pinch and pull them apart repeatedly until the colors interlock. Alternatively, you can card the colors together on a blending board or lightly comb them, which mixes the fibers more evenly. Work in small amounts, and check the blend against your project. Once the mixed fiber looks even, pull it into a loose batt and felt it into place with short, controlled needle strokes. Beginners often find that blending in small batches gives more control than working with large clumps.
What wool is best for blending colors in needle felting?
Wool roving and wool top are the most practical choices for blending because the fibers are already aligned and soft enough to separate by hand. Merino and other fine wools blend smoothly and produce clean details, while coarser wools hold their shape better in larger forms. Choose fibers of similar length so the colors mix evenly. Avoid very cheap roving with short, uneven fibers, which tends to break apart and produce patchy color. Testing a small sample before committing to a full project is a good way to confirm the fiber will blend the way you need.
How do you keep colors from looking patchy when needle felting?
Patchiness usually comes from working with fiber that is not blended thoroughly enough or from felting too quickly. Pull the colors apart and recombine them several times, working in small amounts. Lay the blended fiber in thin, overlapping layers rather than a single thick pile, and keep the needle moving so the colors interlock. Check for streaks by holding the piece up to the light. If you see unmixed areas, pull those fibers loose and blend them again before felting.
Can beginners blend colors with a felting needle?
Yes. Beginners can blend colors with a felting needle by layering small amounts of two colors and stabbing gently through them to interlock the fibers. This works well for shading and small details, and it gives direct control over where each color ends up. For larger color transitions, hand blending before felting usually produces smoother results. Start with two contrasting colors on a small practice piece, and move to more subtle blends once the needle motion feels comfortable.
Comments