
9 Wool Felting Workshop Project Ideas for Every Skill Level
Updated: Nov 2
Quick Summary
A wool felting workshop can suit every skill level, from beginner needle-felted pincushions and wet-felted dryer balls that finish in one session to intermediate wire-armature animals and advanced mixed-media pieces. Choose a project by matching session length, group experience, and the result people want to take home.
Needle-felted pincushions are a classic first project that most beginners finish in one session.
Felted dryer balls teach wet felting, which takes longer and needs a towel and clean water nearby.
Build thin, overlapping passes of color to avoid hard stripes and achieve a blended look.
Stop adding elements once the piece stands on its own and reads clearly from three feet away.
Most frustration comes from loose felt; add more needling in that area rather than more wool.
Table of Contents
Choosing a Wool Felting Workshop Project That Fits Your Group
Picking the right project decides whether a wool felting workshop feels rewarding or frustrating. A good project fits the time you have, the skill level in the room, and the kind of result people want to take home.

All Inclusive Creative Retreats for Crafters: 2026 Guide
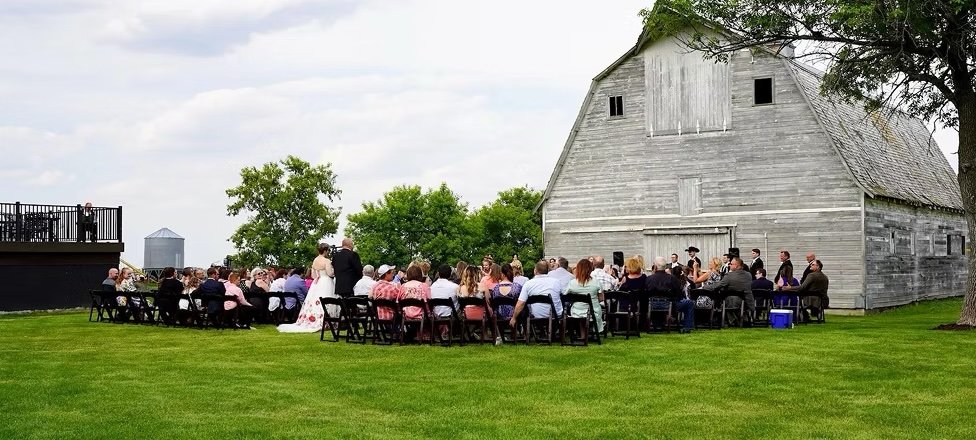
A short session of two hours calls for a small, fast project with a clear finish. A full day allows for layering colors or building an internal armature. If your group is planning a larger gathering, you can learn more about weddings on the property.
Beginner Wool Felting Projects That Finish in One Session
Beginners need a win early. The projects below take little time, use few materials, and produce something people want to keep. Each one teaches a core felting skill: making wool hold its shape, controlling density, and finishing an edge cleanly.
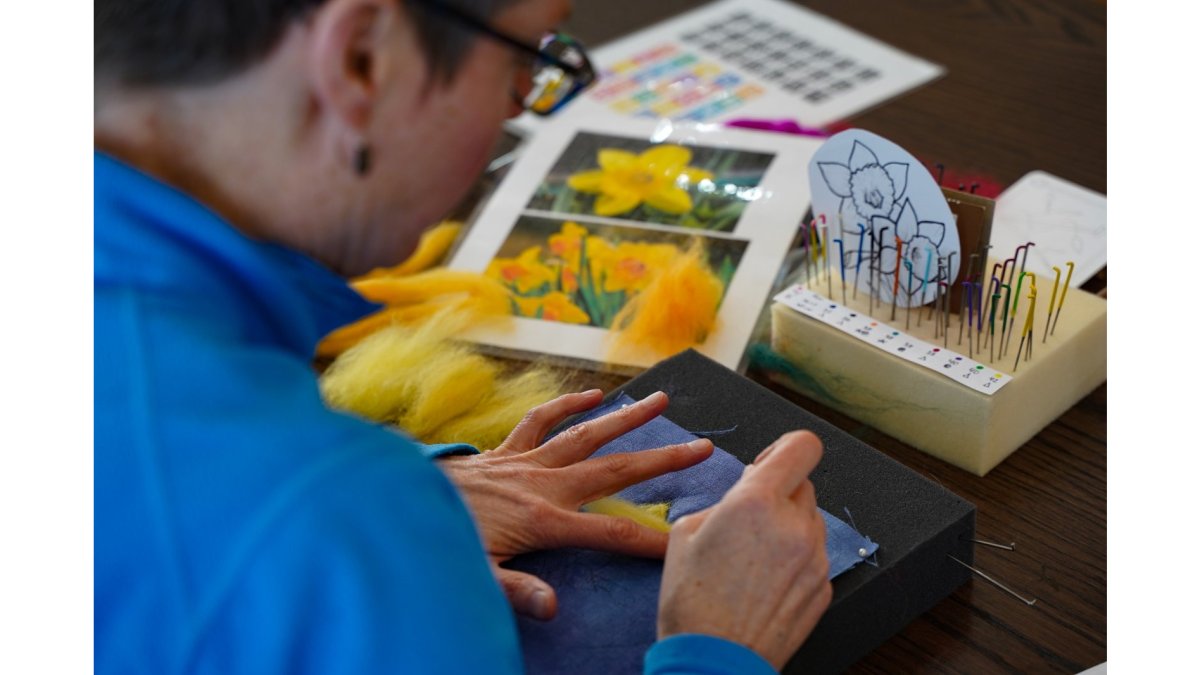
Needle-Felted Pincushions
A pincushion is the classic first project. For a ready-made starter, you can buy a needle felting kit right away. A pumpkin kit with every material included is an easy entry point.
Watch the needle depth. Pushing too hard snaps needles, and stopping too early leaves a soft center that collapses. A common fix is to felt the top surface firmly, then flip the piece and felt the base, so the whole form holds.
Wool Dryer Balls for Functional Wet Felting
Dryer balls teach wet felting through a simple household use. Students wrap wool roving around a core, dampen it with warm soapy water, then roll and agitate it until it firms into a dense ball. If you would rather skip the making, you can order finished dryer balls directly.
Wet felting takes longer than needle felting because the wool needs repeated rolling and rinsing. Plan for extra time in the session, and keep a towel and a bowl of clean water nearby. The process is messy, so set up the tables with that in mind.
Intermediate Projects: Armature, Texture and Sculpted Animals
Once students have the basics, they can move into projects that add structure and texture. Adding these structural elements often inspires students to incorporate decorative stitching details, a transition that pairs naturally with easy embroidery projects to enhance the final surface finish.
Texture comes next. Long-staple wool, such as Lincoln locks, gives fur a shaggy, lifelike look. You can shop Lincoln locks and curls wool in a grab bag. Students hold the locks against the surface and felt them in small sections, building up dimension. This step takes patience.
Color Blending and Mixed-Media Ideas for Advanced Students
Advanced students come to a workshop wanting a technique they cannot figure out from a short video. Color blending and mixed media are the two areas where that happens most, and both reward a structured demonstration before students touch wool.
Color Blending That Reads as Depth, Not Stripes
The mistake most students make is laying down a full layer of one color and a full layer of another, which produces a hard stripe. The fix is to build in thin, overlapping passes.
For a smooth gradient, overlap each new strip by roughly half its width over the previous one and felt the seam line before adding the next. Check progress by stepping back from the piece every few minutes; wool looks darker and more saturated when it is compressed, so a blend that looks right up close often reads flat at arm's length.
Mixed Media That Holds Up
Mixed media extends felting into sculptural work. These combinations can be used in a group setting:
Embroidery on felt. Felted surfaces are stable enough to stitch into without a hoop. Students can add French knots for berry clusters, stem stitch for vines, or straight stitches for whiskers and grass. Use a tapestry or chenille needle so the wool does not drag, and stitch after the felt is fully firm, stitching into loose felt pulls the surface out of shape.
Wire armatures as a visible element. Instead of hiding the wire, students can leave legs, tails, or branch structures exposed and wrap only the body. Aluminum craft wire in the 12- to 16-gauge range holds a pose without kinking; thinner wire bends under the weight of dense wool.
Wood and felt. Felted shapes can be glued or pinned to a wood slice, a dowel, or a small plaque to make a wall piece or a plant stake. This is a fast way to turn a small felted object into a finished, displayable item, and it gives advanced students a clean finish point.
Reverse felting. A reverse felting needle has barbs facing the opposite direction and pulls fibers out of the surface instead of pushing them in. Used in short strokes, it creates a fuzzy halo for animal fur, clouds, or moss. Demonstrate it on a scrap first, the effect is easy to overdo, and once fibers are pulled out they are hard to push back in cleanly.
Pro Tip Set a finish point before students start an advanced piece. A workable rule is to stop adding new elements once the piece can stand on its own and read clearly from three feet away. Advanced projects expand to fill whatever time is available, and a defined stop keeps the session from ending with half-finished work.
Plan for advanced projects to run longer than beginner ones, so schedule the demonstration early and build in a mid-session check where students lay their work out and compare progress.
Needle Felting Workshop Supplies: What to Stock and Why
Stocking the right supplies makes a workshop run smoothly. Here is a practical list for most groups:

Ndtourism Nomend Jedinger 146 Small (750Px)
Wool roving in several colors, plus long-staple wool for texture
Felting needles in a range of gauges, since fine needles suit detail work and coarse needles speed up base shaping
Foam felting pads to protect the table and support the work
Wire for armatures, in a gauge that holds shape without cutting the wool
Towels, bowls, and warm soapy water for any wet felting project
Safety covers or needle caps to keep sharp tips covered between uses
Buy a few spare needles, since they can break during a session. Budget for extra wool, since students often want more color than planned.
Planning Your Fiber Arts Workshop: Time, Groups and Troubleshooting
A well-planned workshop balances instruction and hands-on time. Open with a short demonstration of the core technique, then let students start. Build in checkpoints so no one falls far behind. For a three-hour session, one practical flow is brief instruction, most of the time for making, and a final stretch for finishing and a group look at the work.
Time-to-Complete and Difficulty at a Glance
The estimates below are general guidelines for beginner and intermediate paces; actual times will vary by group.
Project | Technique | Difficulty | Typical time |
Needle-felted pincushion | Needle | Beginner | 45-60 minutes |
Felted dryer balls (set of three) | Wet | Beginner | About 1 hour per ball |
Flat felted picture or patch | Wet | Beginner | 1-1.5 hours |
Felted beads or small ornaments | Needle | Beginner | 20-30 minutes each |
Felted soap cover | Wet | Beginner-intermediate | 1-1.5 hours |
Armature animal | Needle | Intermediate | 3-4 hours |
Blended, mixed-media piece | Needle plus embroidery or wire | Advanced | Full-day session |
Use the table to match projects to session length: a two-hour session fits one beginner project plus a short second piece, a half day fits an intermediate project with time for detail, and a full day is the minimum for advanced mixed-media work.
Troubleshooting: What Actually Goes Wrong
Most frustration in a felting workshop comes from four recurring problems. Teaching students to diagnose them early prevents the session from stalling.
The piece feels loose or spongy. The fibers are not interlocked enough. The fix is more needling in that area, not more wool. Adding wool on top of loose felt hides the problem and makes it worse. Have students press the surface with a fingertip, if it springs back, it needs more work.
The needle keeps sticking or snapping. Sticking usually means the wool is too dry or the needle is being pushed too deep into the foam pad. Snapping usually means the student is angling the needle sideways instead of stabbing straight in and out. Demonstrate the straight vertical motion and check that the pad is thick enough to absorb the needle tip.
Wet felting will not firm up. The two usual causes are water that is too cold and too little agitation. Warm water and soap open the wool scales; cold water slows the process. If the ball or flat piece stays soft after several minutes of rolling, add warmer water and keep rolling, do not add more soap, which makes the fibers slippery.
The surface looks patchy or striped. Color was applied in full layers rather than thin overlapping passes. The fix is to pull thin webs of the new color and felt them over the seam line, blending outward rather than covering the whole area.
Watch Out Keep spare wool and a scrap pad on hand so students can practice a technique before committing it to their project. A two-minute practice pass on a scrap saves a finished piece, and it keeps the group moving while one student works through a problem.
Sharing a troubleshooting list at the start of a session helps students know what can go wrong and ask for help early.
Booking Your Next Fiber Arts Session at Nome Schoolhouse
Our fiber arts workshops take place in a restored 1916 schoolhouse, with on-site wool processing and fiber-producing animals on the property. Groups can pick a project from this guide, or we can tailor the session to what your students want to learn. Pricing depends on group size, dates, and the materials you choose, so please contact us for a current quote. If you want to make a stay of it, you can see our rooms and plan lodging alongside the workshop. For a ready-made starter project, you can explore our needle felting kits.
Frequently Asked Questions
What are the best beginner-friendly wool felting projects?
Small, single-session projects work best for beginners. Needle-felted pincushions and wool dryer balls both teach core felting density while producing something useful. Pincushions need only a foam base, a few felting needles and a small amount of wool, so students can finish one in an afternoon. Dryer balls introduce wet felting and agitation, which helps students understand how fiber locks together. Choose projects that finish within the session so beginners leave with a result they can use.
What materials are needed for a needle felting workshop?
A basic needle felting workshop needs wool roving in several colors, felting needles in a mix of gauges, a foam pad to work on, and a finished-project base such as a pincushion form or felt sheet. Fine-gauge needles suit detail work, while coarser needles build shape faster. Have a few spare needles on hand, since they bend and break during use. Include a small tray or container so students keep loose fiber from scattering across the table.
What is the difference between wet felting and needle felting for workshops?
Needle felting uses barbed needles that tangle wool fibers as you stab them into a foam pad, so it suits sculpting and detail work. Wet felting uses warm soapy water, agitation and pressure to shrink and lock fibers together, which suits flat sheets, bowls and dryer balls. Needle felting is usually easier to start with a small group because it needs no water setup. Wet felting takes longer to dry and works better for larger functional pieces.
How do you scale felting projects for large groups?
For large groups, pick projects with repeatable steps and a short finishing time, such as pincushions or mobile ornaments that students can assemble in parts. Pre-cut shapes and portion wool into labeled bags so setup stays manageable. Plan one instructor or helper for every small table of students. Group projects like a shared felted mobile let students collaborate while each person still completes their own piece.
Comments