
How Do You Add Details to Felted Figures?
Updated: 3 days ago
Last Updated: November 15, 2026
Quick Summary
To add details to felted figures, shape small pieces of wool separately, then felt them into the base with shallow needle stabs. Plan placement first by marking eyes, nose and mouth with a pin, keeping the eyes about halfway down the head. Step down to finer needles as the work gets smaller.
Build details from small pieces of wool, then felt them into the base.
Use shallow stabs and rotate the figure often to avoid denting the base.
Mark detail placement with a pencil dot or pin before felting.
Place the eyes about halfway down the head, with the nose and mouth in the lower half.
Switch to a finer needle when the surface starts to dimple.
Want help with fine felting details?
Nome Schoolhouse offers hands-on needle felting workshops with on-site processed wool.
Table of Contents
What Details Change in a Felted Figure
Adding details is what turns a simple wool shape into a character. A beginner moving from a plain form to a felted figure with a face can see the difference clearly. Details are the small features: eyes, a nose, a mouth, ears, paws, and fur markings.

Needle felted penguin with a heart on its chest
Most details are built from small pieces of wool. You shape them separately, then felt them into the base. This keeps the edges clean and lets you control the expression.
Felting works by needle stabbing. Each stab pushes fibers together and locks them in place. Because the process is slow and controlled, you can build detail gradually instead of all at once.
Watch out: Pressing too hard in one spot can break the needle or dent the base. Use shallow stabs and rotate the figure often.
Tools and Needles for Fine Detail Work
Fine detail work depends heavily on needle choice. A needle that shapes a body fast can tear a face apart, so switching to finer needles as the work gets smaller is a common approach when shaping felted figures.
When to switch. Start coarse to build the form, then step down one gauge at a time as you move to the face. Switch to a finer needle the moment the surface starts to look dimpled or the wool stops compressing, that is the signal the current needle is too aggressive for the density. Switch back up if a detail is not locking in after several passes; thin needles deflect in firm wool instead of driving fibers.
Watch out: a bent needle will keep bending in the same spot. Retire it as soon as it flexes, a snapped tip left in the figure is hard to find and harder to remove.
The table below summarises the needle and handling guidance from this section.
Situation | Action | Note |
Starting the figure | Use a coarse needle to build the form | Step down one gauge as work gets smaller |
Surface dimpling | Switch to a finer needle | Signals the current needle is too aggressive |
Detail not locking in | Switch back up to a thicker needle | Thin needles deflect in firm wool |
Needle flexes | Retire it immediately | A bent needle keeps bending in the same spot |
Snapped tip left behind | Remove it promptly | Hard to find and harder to remove later |
Planning Placement, Proportion, and Symmetry
Before you add any detail, mark where it will go. Use a pencil dot or a small pin. Check that the eyes sit at the same height and the same distance apart.
A simple rule helps: place the eyes about halfway down the head, with the nose and mouth in the lower half. Step back often and compare both sides.
Symmetry matters most on faces. Small differences that look fine up close can read as odd from across the room. Work slowly and turn the figure in your hands as you go.
Needle Felting Face Details: Eyes, Nose, and Mouth
Start with the eyes. Roll two small balls of wool, then felt each one gently into the face. For a glass eye, press the wire loop into the base first, then add a thin ring of wool around it to hold it in place.
The nose is usually a small, slightly raised shape. Felt a tiny wedge of wool and blend the edges into the face so no hard line shows.
For the mouth, use a thin strand of wool. Lay it along the line you want, then felt it down with short, shallow stabs. Build up the curve a little at a time.
Needle Felting Small Shapes for Ears, Paws, and Accents
Ears, paws, and fur accents are built the same way. Begin with a small, semi-firm form. Shape it between your fingers, then felt it lightly into place.

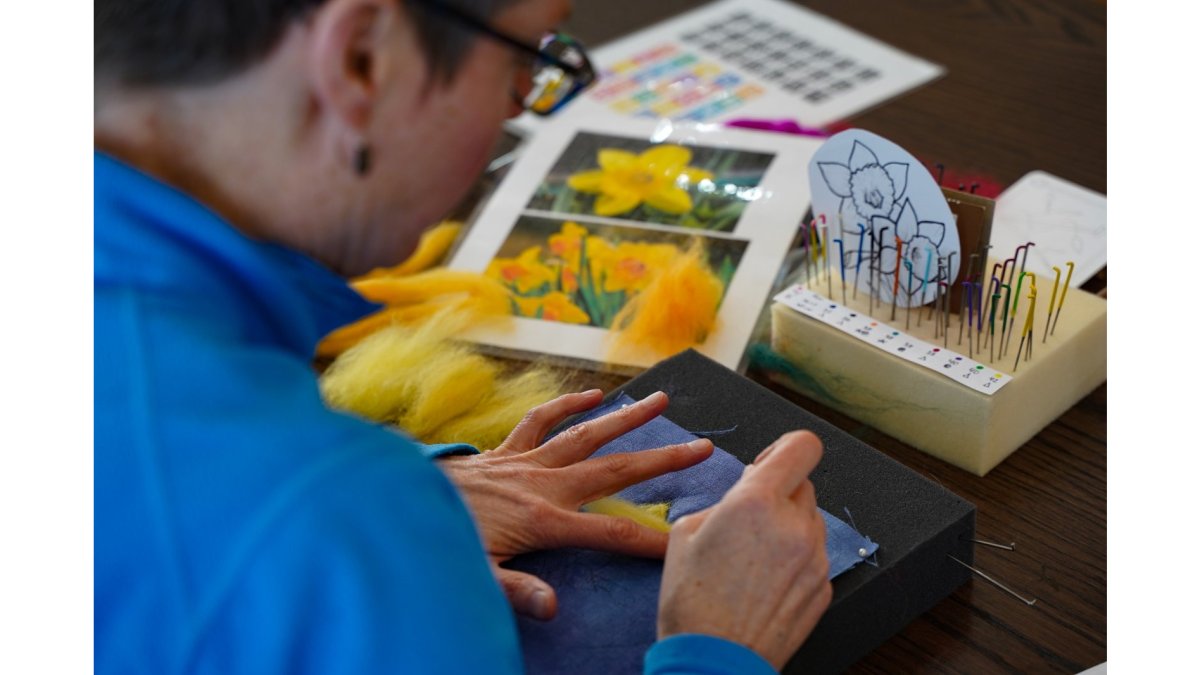
Group of women working on needle felting
Keep these shapes small. Oversized ears or paws look out of proportion on most figures. Blend the base of each piece into the body so it looks grown, not glued on.
Fur accents work well as thin tufts. Pull a little wool into a strand, lay it across the surface, and felt it in short, directional stabs that follow the direction the fur would grow.
How to Attach Body Parts to Needle Felting Figures
Felt separate pieces first, then join them. Lay the piece where it belongs and felt the edge in small, shallow stabs. Work from the outside of the join toward the center so the seam blends into the body.
Check the join from several angles. A gap that looks small from the front may show clearly from the side.
Use gentle pressure near the join, since hard stabbing can leave a dent or ridge.
Adding Tiny Details to Needle Felting and Fixing Common Problems
Most detail problems fall into five buckets. Diagnose before you stab, adding more fibers to a problem often makes it worse.
Loose or shedding details. A detail that will not lock in is usually too thin or too loosely shaped. Roll it tighter between your fingers, then felt it in with a finer needle and shallower stabs. If it still sheds, anchor it with a small cross-hatch of tufts felted over the base of the piece rather than stabbing harder in one spot.
Visible joins. A hard line at a join means the edge was felted before the base was dense enough. Blend by felting a thin veil of matching wool over the seam, working from the outside of the join inward with light stabs. On a firm base, a 40 triangle at a shallow angle feathers the edge better than a straight-on stab. Once the seam is softened, the figure’s silhouette reads more naturally, making it easier to style felt animal ornaments as part of a balanced display.
Uneven or asymmetric features. Step back and look at the figure from arm's length, then from the side. Mark the correction point with a pin before you touch it. Remove fibers with the needle (stab and lift) rather than adding on top, added wool builds bulk and changes the silhouette. Check paired features against a straight pin laid across the face as a level.
Over-felting. Wool that has gone shiny, hard, or dimpled is over-worked. Stop stabbing that area. You can soften a hard spot by needling a thin layer of fresh wool over it, but you cannot fully reverse it, the fix is prevention: shallower stabs, fewer passes, and rotating the figure so no single spot takes repeated hits.
Broken or bent needles. Needles break from side pressure, not straight stabs. Keep the needle perpendicular to the surface, do not pry with it, and do not stab into a spot where the wool is already dense. A 40 or 42 needle breaks more easily than a 38, so use the finest needle that will do the job, not the finest you own.
Stray fibers and fuzzy surfaces. Trim with small sharp scissors held parallel to the surface, not perpendicular. Felt the cut ends back in with a light pass. Do not pull stray fibers, pulling drags neighboring fibers loose and creates a divot.
Securing details for handling and display. Details that will be handled, played with, or displayed should be felted until they resist a gentle tug. For extra security on small features, work a few fibers from the detail into the base in several directions rather than one. If a figure will be handled often, plan the details so they sit slightly recessed rather than proud of the surface.
Taking time to fix small problems early keeps the whole figure looking clean. Set the figure down, look at it fresh, and adjust one detail at a time.
Booking Your Next Fiber Arts Session at Nome Schoolhouse
Detailing a figure is easier when you learn with others. Nome Schoolhouse offers fiber arts workshops that include needle felting, with wool processed on site. Schedules and pricing depend on group size and dates, so check the website for current details or contact us for a quote.
Ready to try it yourself? Book your needle felting session and bring your next figure to life.
Frequently Asked Questions
How do you add small details to a needle-felted figure?
Build the basic shape first, then add details with thin wool tufts or short strands placed on the surface. Use shallow, controlled needle stabs and work in small passes so the wool locks in without distorting the form. Add larger features before smaller ones, step back often to check balance, and stop when the detail reads clearly. Patience matters more than force: fine work is firmed gradually, not stabbed hard.
How do you attach body parts to needle felting figures?
Felt the separate body part to a semi-firm state, then position it against the main body and stab the edges into the base with directional strokes. Angle the needle so the fibers interlock across the seam rather than just sitting on top. Blend the edges by adding a few loose fibers over the joint, then check alignment from several angles before finishing the seam fully.
How do you keep a felting needle from breaking when adding details?
Use gentle pressure and avoid stabbing through dense or hard areas, especially where you have already felted tightly. Work with a fine needle for small features and a thicker one for building the base. Keep the needle perpendicular to the surface when possible, and replace bent or dull needles promptly, since they are the most common cause of breakage.
What should I do if my felted facial details look uneven?
Compare both sides of the face at a distance and mark the center line before adding features. If one eye or the mouth looks off, remove a small amount of wool by gently pulling fibers out with the needle, then re-felt the area with a fresh tuft. Small corrections are easier than large ones, so adjust in stages rather than trying to fix everything at once.

Comments