
How to Display Needle Felted Art at Home
Last Updated: November 4, 2026
Quick Summary
To display needle felted art, pick a method that fits the piece: a standard frame or shadow box for most work, or a stretched canvas for flat pictures. Keep the felt out of direct sun and dust, and leave at least one inch of margin around the image so mounting does not damage the artwork.
Flat pieces suit frames and canvas, while raised or sculpted work needs a shadow box.
Stapling only the centers first, then working outward, keeps canvas tension even.
Leave a clear margin of at least one inch around the artwork when mounting.
Hang the piece at eye level, roughly 57 to 60 inches from the floor to the center.
Dust gently with a soft, dry brush once a month and use UV-protective glazing.
Table of Contents
Why Display Method Matters for Needle Felted Art
You spent hours shaping wool into a landscape, a portrait or a small animal. The way you show it decides whether it looks like a finished piece or a craft project. At Nome Schoolhouse, we work with fiber every day.

Needle felted art is different from a painting. The surface is soft, slightly textured and can pick up dust or bend if it is handled roughly. That means the display method has to protect the piece as well as show it off.
A good display does three things:
Protects the felt from dust, light and bending
Frames the image so the eye knows where to look
Fits the room, so the piece feels like part of your home
Each of these matters more than most people expect. The sections below walk you through the choices, starting with a simple decision guide.
Choosing the Right Display Method: A Decision Guide
The best method depends on the size of your piece, where it will hang and how often you plan to change it. You can also compare which needle felting gift ideas are worth making before deciding what to display. Use these questions to narrow your choice.
Is the piece flat or dimensional? Flat pieces suit frames and canvas. Raised or sculpted work usually needs a shadow box.
Will you move it often? Hoops and clip-in frames make swapping easy.
Are you renting? Adhesive hooks and removable mounts avoid wall damage.
How much do you want to spend? A ready-made frame costs less than custom glazing.
In practice, most beginners do well with a standard frame and a backing board. If you want to try the craft before choosing a display, start with a duck kit that includes all the fiber you need. Move to a shadow box when the piece has depth or when you want to show off a grouped display.
How to Display Needle Felted Art on Canvas
Canvas works well for flat felt pictures that have a painted feel. You can begin with felted wool sheets in two sizes that are ready to mount. Felt holds its shape on a stretched frame, and the canvas edge gives the piece a clean, gallery-like finish. The catch is that canvas mounting is unforgiving: pull too hard and the felt thins and puckers, pull too little and it sags off the stretcher bars within a season. The steps below walk through the process.
Dano Does Things
What you need:
A stretched canvas one to two inches larger than the felt on every side
A staple gun with 1/4-inch or 5/16-inch staples, or a fabric adhesive rated for wool
Acid-free backing board or foam board cut to the canvas size
Pins, a soft brush, and a clean, flat work surface
Step-by-step:
Lay the felt face down on a clean surface and center the canvas on top of it, back side up. Measure the overhang on all four sides; it should be equal.
Fold the felt over one long edge and staple at the center of that edge only. Do not staple the whole edge yet.
Move to the opposite edge, pull the felt gently until the surface is smooth but not tight, and staple the center. You now have two anchor points.
Repeat on the two short edges, again stapling only the centers. This four-point anchor is what keeps the image from skewing.
Work outward from each center staple toward the corners, spacing staples about one inch apart and keeping tension even.
Fold the corners as you would wrap a gift: trim excess felt if it bunches, fold one flap over the other, and staple the fold flat against the back of the frame.
Turn the canvas face up and check that the image sits straight. If a corner pulls, remove the nearest staples and re-set that corner before continuing.
Watch out: Stapling too close to the image can pucker the felt, and staples driven through the picture itself will leave permanent holes that cannot be felted back in. Leave a clear margin of at least one inch around the artwork.
Mounting Felt to Canvas Without Damaging the Surface
Felt can stretch or tear if you pull it too hard, and the fibers on the front face are easy to crush. Work slowly and keep the tension even. Use a fabric adhesive made for felt rather than a stiff craft glue, which can stain or harden the fibers and will not flex with the wool as the room's humidity changes.
Turn the canvas face down and smooth the felt from the center outward with the flat of your hand, not your fingertips. Fold the corners neatly, as you would wrap a gift, so the back stays flat and the canvas can sit flush against the wall.
Staples vs. adhesive vs. pins, the trade-offs:
Staples give the tightest, most even tension and are the most reversible; you can pull them and re-stretch the piece. They do leave small holes in the felt margin, so keep them outside the image area.
Fabric adhesive avoids holes entirely and suits pieces with no margin to spare, but it is permanent and can stiffen the edge of the felt where it bonds.
Pins are the least invasive and the easiest to undo, which makes them the best choice for a piece you plan to rotate or sell. They hold less tension, so they suit small canvases and pieces that will hang flat rather than be handled.
The steps below summarise the canvas mounting process, with the key trade-offs for each attachment method.
Attachment method | Best for | Key difference |
Staples | Tightest, most even tension | Reversible, but leaves small holes in the margin |
Fabric adhesive | Pieces with no margin to spare | No holes, but permanent and can stiffen the edge |
Pins | Small canvases and pieces you rotate or sell | Least invasive and easiest to undo, but holds less tension |
How to Display Needle Felted Art on a Wall
Wall display is the most common choice, and it works best when you plan the spot first. Choose a wall that gets soft, indirect light. Direct sun can fade wool dyes over time.
Consider these points before you hang the piece:
Use a hook rated for the weight of the frame.
Hang the piece at eye level, roughly 57 to 60 inches from the floor to the center.
Keep it away from heaters, fireplaces and damp bathrooms.
Once the piece is on the wall, step back and check the level. A slightly crooked frame is easy to notice in a small room.
Using a Shadow Box Frame for Dimensional Felt Work
A shadow box frame gives your piece room to breathe. It is deeper than a standard frame, so raised or sculpted felt does not get crushed against the glass.

Shadow boxes suit:
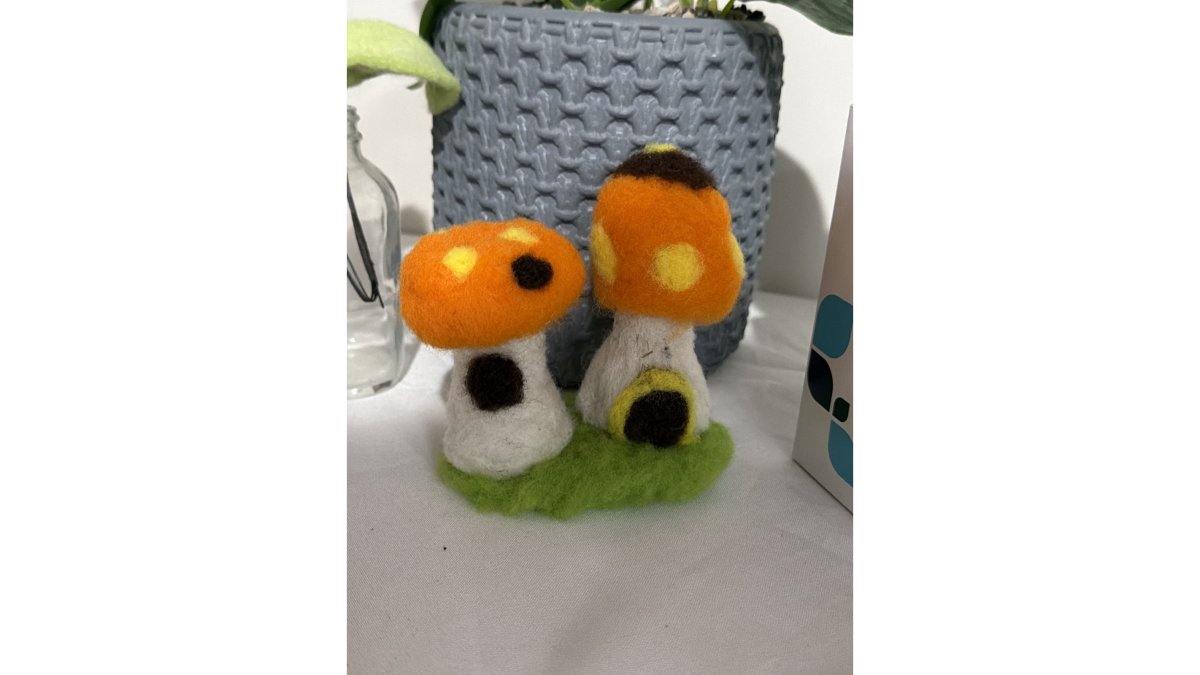
Three-dimensional animals, flowers and figures
Pieces with loose fibers or texture that stand out from the surface
Small grouped displays with objects such as beads or buttons
Pick a box deep enough to clear the highest point of your piece with at least a quarter inch to spare. Attach the felt to a foam or board backing with small pins placed out of sight.
How to Display Needle Felted Art for Beginners: Sizing, Spacing, and Lighting
New felters often struggle with three things: picking the right size, spacing pieces well and lighting them properly. The good news is that each of these has a rule of thumb you can apply without guessing.
Sizing: A small piece looks lost on a large wall. Match the frame to the artwork, with a border that is roughly equal on all sides. A mat or border that is roughly equal on all sides usually reads as balanced.
Spacing: When hanging several pieces, keep a consistent gap between frames. Align the top edges or the centers, not both. For a grouped gallery wall, lay the frames out on the floor first and trace each one onto paper; tape the paper to the wall, step back, and adjust before you drive a single nail.
Hanging height: The center of a single piece or the center of a group usually sits at about 57 to 60 inches from the floor, which is roughly eye level for most adults. In a room where people sit most of the time, drop that center a few inches.
Lighting: Soft, indirect light generally flatters felt. Avoid placing the piece right under a bright ceiling fixture, which flattens the texture, and keep the light source off to one side so the raised fibers cast a soft shadow that shows the depth of the work.
Start with one piece and one frame. A designed beginner kit for a flat wall piece gives you a finished-size project to practice on.
Protecting and Caring for Your Felted Display Over Time
Felt is durable, but it still needs care. Dust settles into the fibers, and bright light fades dyes.
To keep your piece looking fresh:
Dust gently with a soft, dry brush once a month.
Use glass or acrylic glazing with UV protection when you can.
Keep the piece out of direct sunlight (Limiting Light Damage).
Avoid damp rooms, which can cause mildew.
If a piece gets dirty, do not scrub it. Gently lift loose dust with a soft brush and ask a specialist before attempting any deeper cleaning.
Book a Visit to See Felted Work Hung at Nome Schoolhouse
Seeing how felt looks on a real wall is the best way to plan your own display. Visit Nome Schoolhouse to see felted work in our historic building. You can also explore our needle felting kits to make a piece you can display at home.
Frequently Asked Questions
How do I frame felt art?
Start with a frame that has enough depth so the felt does not press against the glass. Most flat needle felted pieces look best with a mat board, which creates a border and keeps the surface from touching the glazing. Attach the felt to a backing board using acid-free mounting corners or a thin layer of archival tape placed on the edges, not the fibers. Avoid glue directly on the felt. Choose a frame sized to the finished artwork plus the mat, and check that the backing sits flat before sealing the back with kraft paper.
Can you display needle-felted art on canvas?
Yes. Needle felted pictures can be attached to stretched canvas or a wood panel, which gives the piece a gallery-style look without glass. Lay the felt on the canvas, secure the edges with a few stitches or a fabric-safe adhesive along the back, and keep the attachment points away from the visible surface. Canvas works best for pieces that are wet-felted or densely needle felted, since they hold their shape. Lighter, loosely felted work may sag over time and is better suited to a frame.
What kind of frame works best for needle-felted pictures?
A shadow box frame suits three-dimensional felt pieces that stand off the backing, while a standard frame with a mat works well for flat work. Frames with deep rabbets give room for the felt texture. Choose a frame that complements the color palette of the piece instead of one that competes with it. For small pieces, a simple wooden frame with a neutral mat often looks more finished than an ornate design.
How do you protect needle-felted art from dust?
Dust settles into the fibers of felt, so glazed framing is the most effective protection. Use UV-filtering glass or acrylic where possible, and seal the back of the frame so dust cannot enter from behind. Keep framed pieces out of direct sunlight and away from heating vents. Gently vacuum the glazing and the frame edges with a soft brush attachment rather than wiping the felt itself.

Comments